

Barndominiums and Barnwood: How to Process Reclaimed Wood for Your Dream Home
Incorporating reclaimed barnwood into your barndominium design is one of the best ways to add warmth, character, and timeless charm to your home. Whether you’re using barnwood for accent walls, flooring, mantels, or shelving, the unique patina of aged hardwoods is impossible to replicate. However, with the rise in popularity of barndominiums and farmhouse-inspired design, finding old barns with usable wood has become increasingly difficult.
Most barns still standing today were built in the early to mid-19th century using hardwood species like oak, fir, cedar, and redwood—massive timbers hewn from trees that often spanned several feet in diameter. If you’re fortunate enough to discover one of these historic structures, you may have stumbled upon a true gold mine for your barndominium project.
But before you start dreaming about reclaimed wood accents, it’s important to know that processing barnwood is a labor-intensive task that requires patience, proper tools, and careful attention to detail. In this guide, we’ll walk you through each step of the process—from sourcing and dismantling to drying, milling, and finishing reclaimed wood—so you can confidently bring that authentic barnwood look to your barndominium.
Step 1: Get Permission and Take Stock of the Barnwood
The first step in using reclaimed barnwood is securing permission from the property owner. Never dismantle an old barn without consent; a simple conversation or phone call can often open doors.
Once permission is granted, evaluate the barn and its wood:
- Species: Identify the types of wood available (oak, fir, cedar, etc.).
- Condition: Check for rot, insect damage, or excessive warping.
- Safety: Determine whether the structure can be dismantled safely without risk of collapse.
Pro tip: Older barns often contain a mix of wood qualities. Some boards will be structurally sound, while others may be brittle or riddled with holes. Sorting early will save time later.
Step 2: Dismantle the Barn Safely
Taking down a barn is a big job—it can take anywhere from several days to over a week depending on the size. We recommend assembling a team of at least four people to speed up the process and minimize physical strain
Best practices for dismantling:
- Work from the top down, starting with the roof to avoid collapse.
- Use a mix of tools:
- A claw hammer for pulling nails
- Pry bars for tight spaces
- A Sawzall (reciprocating saw) for difficult cuts
- Metal snips to remove any embedded hardware
- Remove all nails, brackets, and debris carefully to preserve the wood and prevent injuries.
Safety tip: Wear gloves, eye protection, and sturdy boots. Old barns can hide sharp nails and unstable boards.
Step 3: Properly Dry Your Reclaimed Wood
Before barnwood can be milled or installed, it needs to be thoroughly dried to prevent mold, warping, and decay.
- Kiln drying is the most effective method. Options include:
- Solar-heated kilns
- Conventional heated kilns
- Dehumidifier kilns (most common)
- Many local sawmills offer kiln drying services—call ahead to check availability.
- Allow at least 5–6 days of drying time before proceeding to milling.
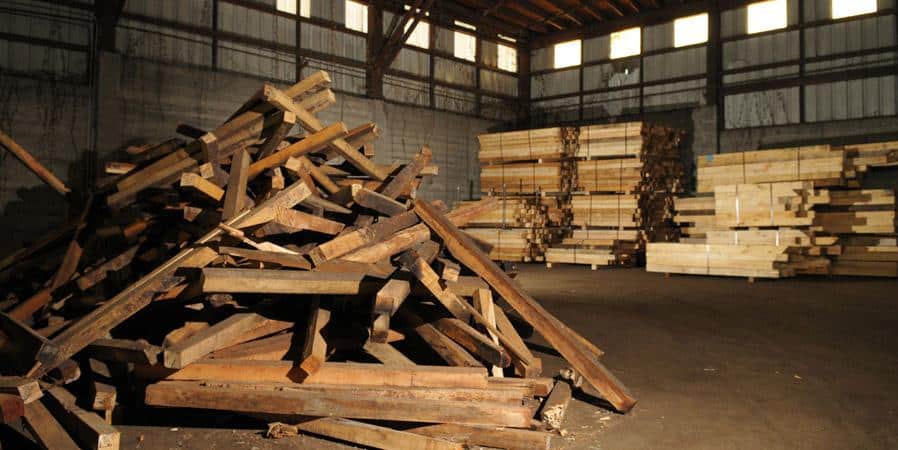
Step 4: Mill and Prepare the Barnwood
Milling is where your rough barnwood boards are transformed into usable building materials. Before heading to the mill, sort and organize your boards by size, thickness, and species. This will streamline the process and reduce waste.
At the mill, boards typically undergo:
- Jointing and planing: Flattens the boards and ensures even thickness.
- Ripping: Cuts boards to the desired widths.
- Tongue and groove profiling: Creates the interlocking edges that make installation seamless.
This step is essential if you’re using reclaimed wood for flooring, paneling, or ceilings in your barndominium.
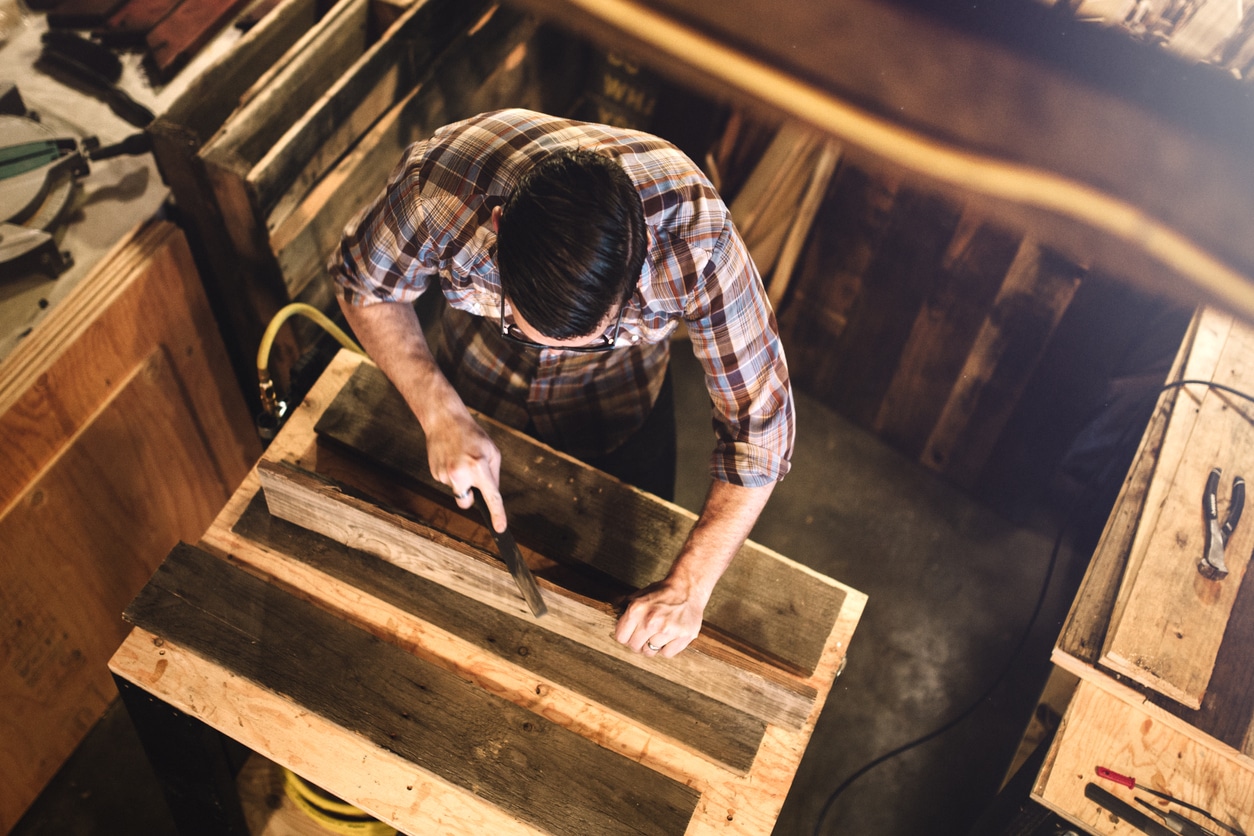
Step 5: Sanding and Finishing Your Reclaimed Barnwood
After milling, your boards will likely have rough edges, burls, and traces of old paint or finishes. Sanding is necessary to create a smooth, even surface:
- Use a belt sander or orbital sander with medium-grit sandpaper.
- Decide whether to preserve imperfections (like nail holes and weathered patina) for character.
- Apply your chosen finish:
- Natural sealants or stains enhance the wood’s inherent color.
- Painted finishes (such as whitewashing) work well for farmhouse-style barndominiums.
Tip: Always test finishes on a scrap board before applying to the full batch.
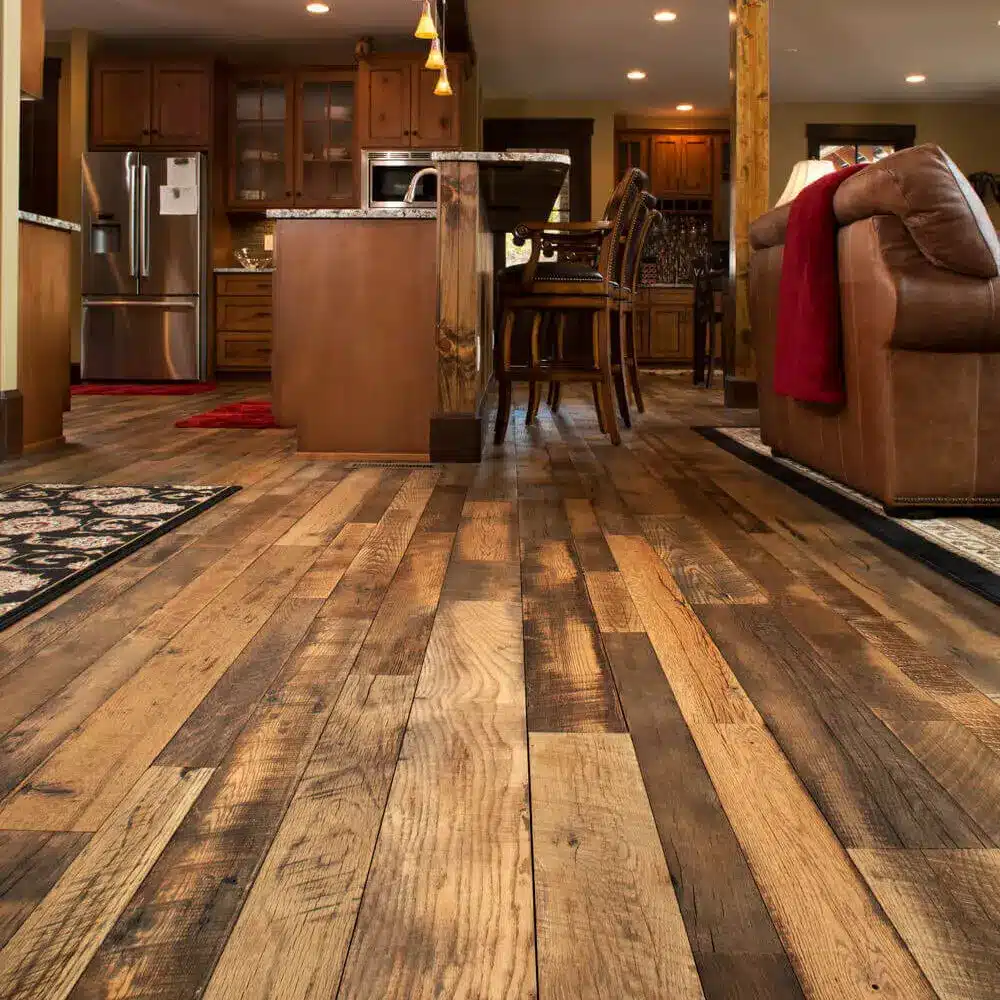
Step 6: Incorporating Reclaimed Barnwood into Your Barndominium
Once processed, reclaimed barnwood can be used in countless ways to elevate your barndominium design:
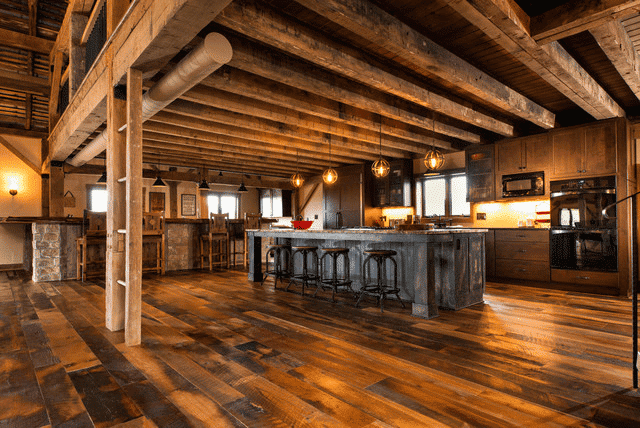
- Accent walls and shiplap-style paneling
- Rustic barnwood flooring
- Fireplace mantels and shelving
- Ceiling beams and trusses
- Furniture, doors, and built-ins
Websites like Pinterest and Instagram offer endless inspiration for DIY barnwood projects. The possibilities are nearly limitless, and the character reclaimed wood adds to a home is unmatched.
Why Use Reclaimed Barnwood in Your Barndominium?
- Sustainability: Reusing old wood reduces waste and preserves natural resources.
- Aesthetic Value: Each board carries decades of weathering, saw marks, and history.
- Durability: Old-growth hardwoods are incredibly strong and dense compared to most modern lumber.
- Increased Property Value: Unique finishes like reclaimed barnwood can boost your barndominium’s curb appeal and resale potential.
Final Thoughts: Bringing History Into Your Build
Try to remember Processing reclaimed barnwood for your barndominium is not a quick task—it requires patience, the right tools, and attention to detail. But the reward is well worth the effort. Every board tells a story, and when installed in your barndominium, it adds a warmth and character you simply can’t get from new materials.
![]()
If you’re ready to start your barndominium build and want to incorporate barnwood, now is the time to finalize your barndominium floor plans and start scouting old barns in your area.
👉 Explore stock barndominium plans and steel frame kits at Buildmax.com. Our plans are designed to work seamlessly with modern finishes and rustic touches like reclaimed barnwood, so you can achieve the perfect balance of durability and design.


