

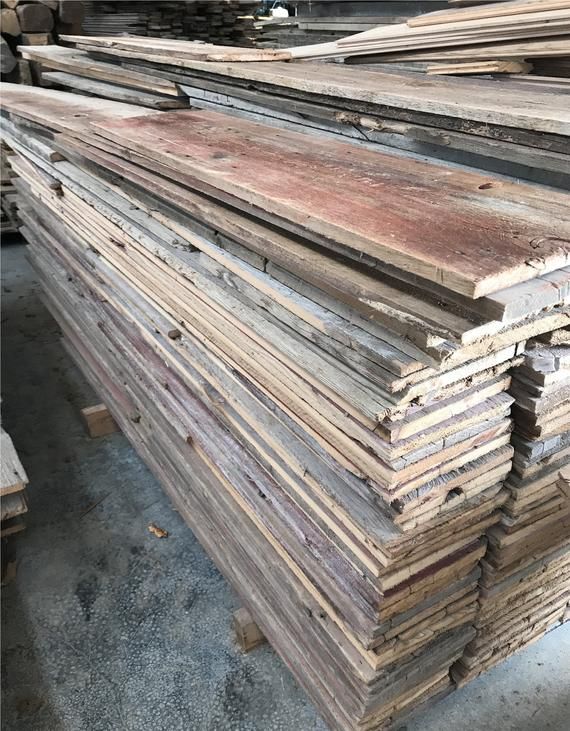
The quest to find a suitable barn for sourcing reclaimed tongue and groove barnwood to adorn the interior of your barndominium has become increasingly challenging in recent times. The surge in popularity of barn wood has led to a dwindling supply of old barns still standing today. The majority of barns scattered across the country today stand as relics from the early to mid-19th century, crafted from enduring hardwoods such as oak, fir, and redwood. These monumental hardwood trees, some boasting diameters spanning dozens of feet, were hewn into timbers and structural supports, destined for use in the iconic timber frame barns that proliferated from the east coast to the west coast.
Should fortune favor you with the discovery of an old barn that remains in a usable condition, you may indeed have struck a proverbial gold mine for your barndominium project. However, before enthusiasm carries you away, it’s crucial to understand that a considerable amount of labor awaits you if you are genuinely committed to repurposing this aged wood for flooring or paneling within your barndominium.
The process at hand is an endeavor marked by its labor-intensive nature, one that may test your patience on multiple occasions. It’s essential to recognize that this undertaking entails a hands-on approach to breathing new life into barn wood, so brace yourself for a journey that requires dedication and meticulous effort as we proceed.
Permission & Taking Stock
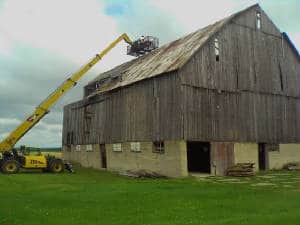
Obviously, permission is the first step. You can’t just take apart a barn because it’s old and not being used. It’s still someone’s property and a simple knock on the door or a phone call will typically be enough to contact the owners. The second step is taking stock in the situation, determining if indeed you can use the wood. Ask yourself what type of wood are you dealing with? Oak, Fir, Cedar? The Quality of the wood, what kind of shape the wood is in? Is it crumbling apart? Are there large holes in the wood? Can you safely dismantle the barn for the purpose of reclaiming all the best barn wood pieces for use on your very own future barndominium project without endangering yourself or others? These are all important first questions to ask yourself when you come upon a potential barn.
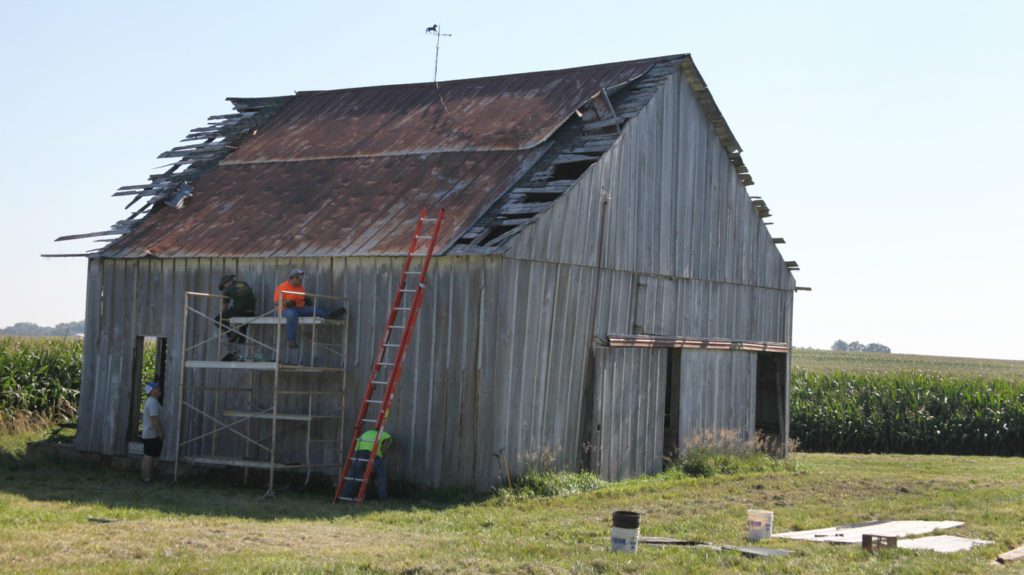
Tools & Dismantling
Taking down a barn is a time-consuming process. Depending on the size of the barn it could take anywhere from a couple of days to a week or more to take apart the barn. I recommend a team of at least four people to speed things up, and your back and knees will thank you later. We recommend starting your dismantling from the top down to avoid the structure falling in on you or someone else. It’s always smart to start with the roof and work your way down. Jerking nails was never a strong suit of mine. Most people prefer a regular claw hammer as they have plenty of weight and strength, a must-have when taking down a barn. However, I found that a small to medium size pry bar works very nicely for those hard-to-reach spaces. Sawzall or a saw of your choice is also a must-have tool. Metal snips are also super handy, I always have a pair or two on-site. Remember we are trying to remove every nail, bracket, or any debris that could harm the sawblade in the process, so take your time de-nailing your boards. These old boards have nails hiding everywhere.
Properly Drying your wood
After you have your big pile of select barnwood you need to dry the wood out. This is a particularly key step as it aids in preventing any further deterioration of the wood due to moisture and mold among other bacteria. You can do this with a simple wood kiln. There are solar heated kilns, conventional kilns, and the most popular and most used type of kilns are the dehumidifier kiln that literally suck the moisture right out of the wood straight through the air allowing you to control the temperature and airflow. Many sawmills have onsite kilns so finding a place to process your wood should be as easy as a few phone calls. All of this is in preparation for the next few steps in the process. Once the wood has dried, you are generally looking at a minimum of 5-6 days to be ready to move on to the mill.
The Mill & Beyond
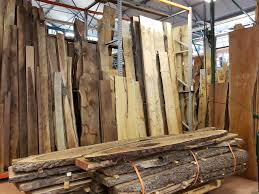
An insider tip I’ve learned through the years is to sort and organize your pile of wood BEFORE
you take your pile of wood to the mill to have it cut. Every piece of wood is going to be different with different shapes and sizes and species and hardness. If you know what you would like out of your pile of wood, now would be the best time to sort that big pile into a few smaller more manageable piles. Milling barn wood is like milling new wood. The plank is run through a jointer and a planer that aids in getting the plank flat and even on both sides before being “ripped” down the length of the board to specific widths with the mill. Next is the tongue and groove profile to be molded into the boards by a wood shaper tool or a molder as they are sometimes called. The main job of this tool within the mill are to form the tongue and the groove profiles and make sure that they mate perfectly in such a way that they are seamlessly joined, easy to snap and fit together properly. We still have one last step in the process before we are ready to use our repurposed wood.
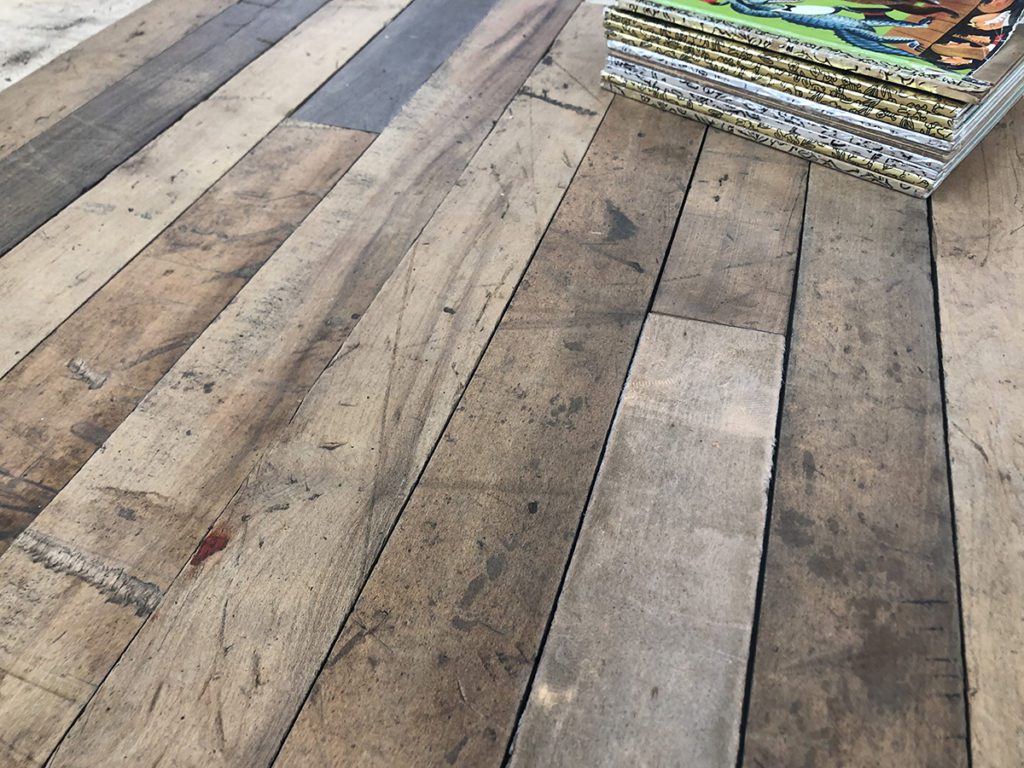
Sanding & Finishing
Finally, you’re on the home stretch. Your wood has been milled at the sawmill and organized, now it’s ready for the final changes. When you get your wood back from the mill, you’re going to notice there are burls and sharp edges all over the surface of the wood. You might even notice previous paint or lacquer that was applied years ago. Sanding will remove all these blemishes. Some styles will benefit from these blemishes as they can add character to a room. You want to sand your wood smooth and evenly so that your paint or sealant will stick to the wood on all parts of the surface. When painting and sealing your barnwood, this is where people differ. Some people enjoy a natural look of the wood that you can achieve with a sealant, stain, or lacquer finish. I personally love the look of natural wood but some houses especially the whitewashed farmhouse look everyone seems to gravitate towards nowadays may benefit more from painted wood, it all boils down to style and preference.
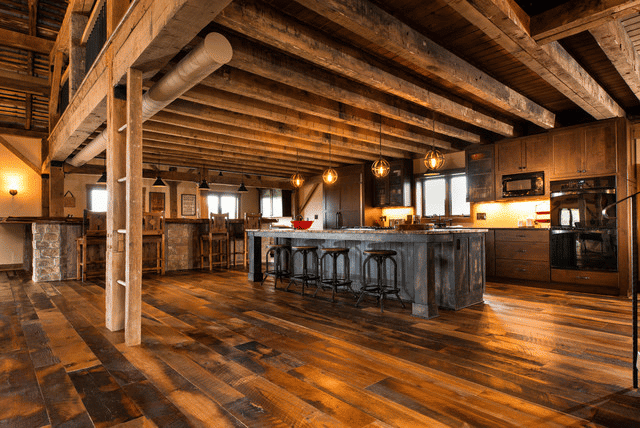
Using your finished product
Now that you can process barnwood like a pro, it’s time to get out there scouting a barn for your barndominium build. You may even finally be ready to do something about those custom barndominium plans that you have sitting in your office. Whatever your dream or plan I hope you would consider incorporating barnwood into your build, it’s fun and can add that extra extravagant look to your home for which you’ve been searching. Whether you are reclaiming wood for floors or paneling for the walls you can adapt barnwood to just about anything in your barndominium or shop house. I’ve seen beautiful mantles and shelving built with reclaimed wood. Pinterest is an amazing resource for barnwood pictures, DIY projects, all the way up to intricate custom flooring ideas and plans all laid out for you. You never know where you’ll find your next dream project.


