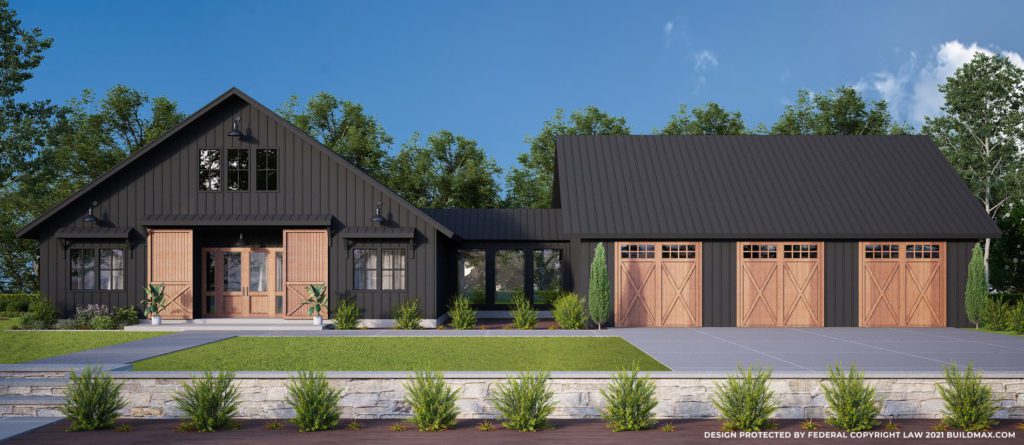
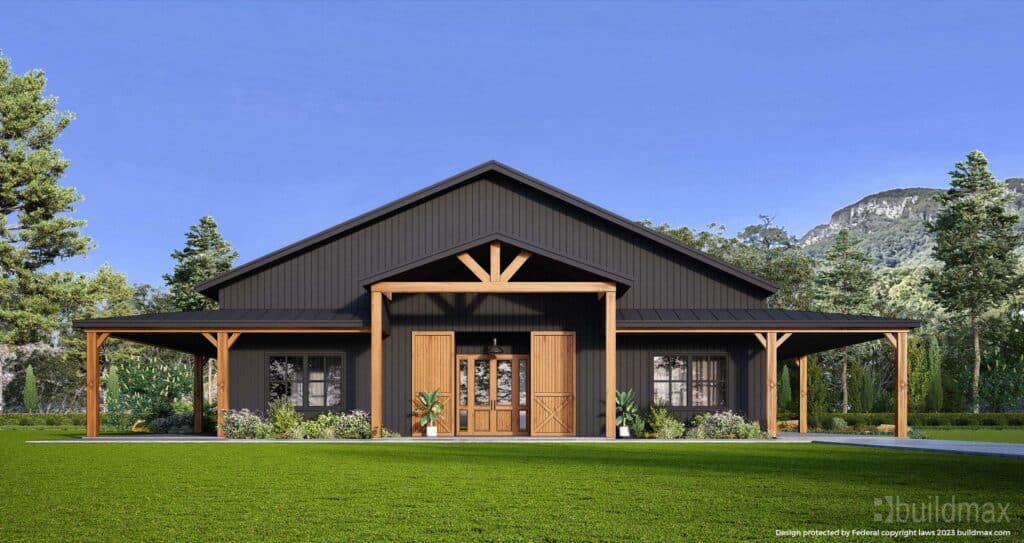
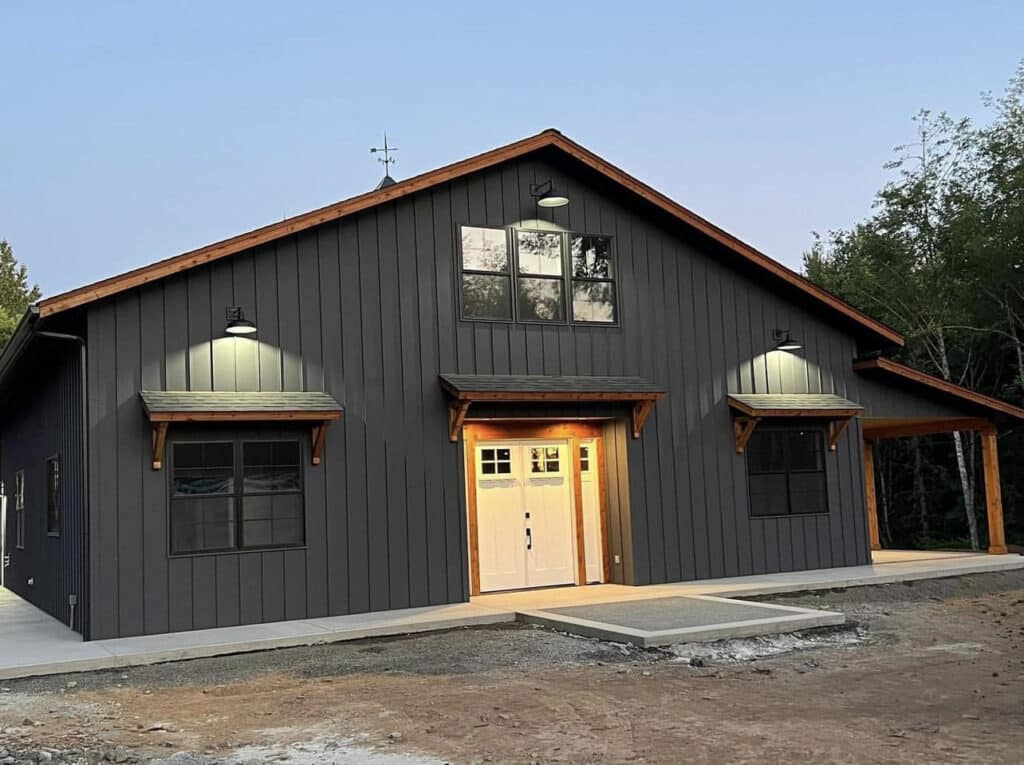
Searching for a blend of affordability and distinctive design? You’ve probably come across intriguing terms like barndominium, and barndo. These names refer to a unique structure that marries the rustic aesthetic of a barn with the comforts of a modern home. Barndominiums seamlessly blend the charm of a farmhouse, the durability of metal buildings, and the luxury of upscale residences into one cohesive design.
As time has passed, barndos have evolved from simple structures to refined homes. Originally catching on in the southern parts of the US, they’ve since broadened their allure owing to their uncomplicated architecture, cost efficiency, and ease of maintenance. Given the array of design choices available, barndominiums are now seamlessly integrating into communities throughout the US.
If you’re just dipping your toes into the realm of barndominiums or home construction at large, you might be wondering about the journey ahead. Constructing a home, including barndominiums, involves numerous stages. However, when it comes to barndos, there are additional challenges to consider. Dive deeper to understand the essential insights for embarking on your barndominium project.
Preparing For Your Barndo Build
Before diving into the construction journey, there are several preliminary steps to tackle. To begin with, you’ll want to evaluate and secure your financial foundation for the project. While some individuals opt to fund their construction out-of-pocket, the majority lean on financial institutions for lending support. However, securing a loan for a barndominium might pose a challenge as many banks are yet unfamiliar with this building type. To ease the process, consider approaching institutions with barndominium specialists, or alternatively, describe your project as a custom home build.
With finances in place, your next steps involve procuring a piece of land and determining your floor plans. While some choose to lock in their land parcel first, others begin by finalizing their floor designs, ensuring the plot they eventually select complements their building blueprint.
When delving into the design specifics of your barndominium, be clear about your desired square footage and ensure it aligns with the size of your land. While readily available designs are an option, you can also engage architectural designers like BuildMax to sketch custom barndominium plans tailored to your vision. Opting for an individual architect is another route, but bear in mind that it’s typically a pricier choice compared to specialized architectural designers.
With your financial groundwork laid, land acquired, and plans in hand, the next step is to find the right contractor. It’s vital to collaborate with a contractor experienced with the materials you’ve chosen. Much like financial institutions, not every contractor might be well-versed with barndominiums, which could make them hesitant to undertake the project. Yet, it’s feasible to locate a contractor open to the task or you can present it as a custom home inspired by the barndominium concept.
With these components in place, there’s just one final preparation before the construction kicks off: securing the necessary permits. Ensure you liaise with your local building authority to understand the required permits, if any. Equally crucial is acquainting yourself with the local building codes, guaranteeing that your floor designs are compliant.
Let the Build Begin: A Step-By-Step Guide
- Foundation: The initial stage of the building procedure involves setting the foundation. Taking a standard stick build as our reference for this piece, it’s worth noting that barndominiums often employ a monolithic slab. However, the specific choice of foundation can vary based on the building material you opt for, be it stick, post, or steel. It’s during this foundational phase that the preliminary plumbing and electrical work gets underway. After the foundation has been set, a curing period is necessary before progressing to the subsequent steps.
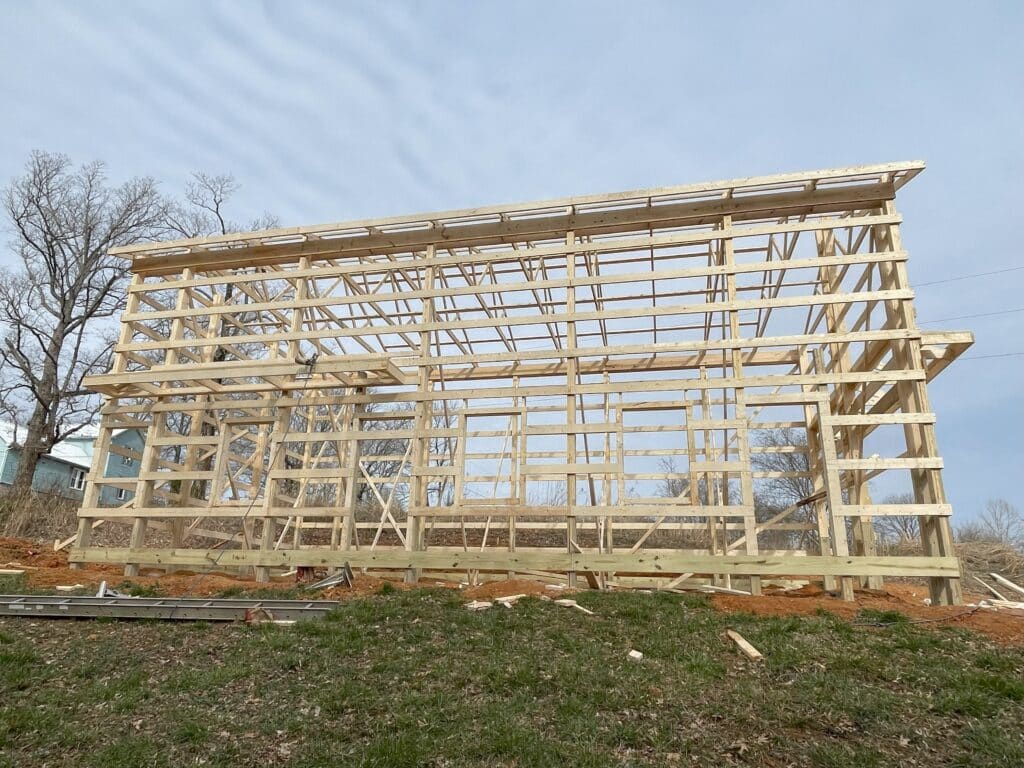
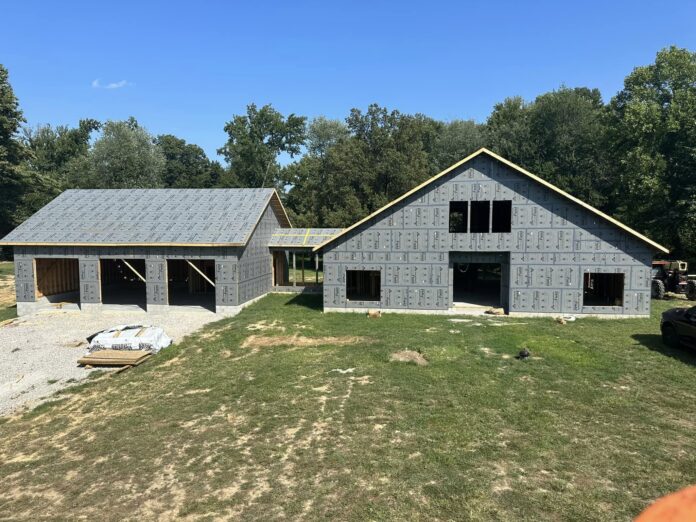
- Framing: After the foundation has set properly, the next step involves framing your barndominium. The duration of the framing stage can fluctuate between 2-8 weeks, influenced by numerous variables including the expertise of the contractor, prevailing weather conditions, material availability, and so forth.
- Plumbing & Electrical: After finalizing the framing, it’s time to focus on the plumbing and electrical aspects. Qualified licensed experts will handle tasks such as laying out wires and pipes in your residence, linking the sewer line or septic system, and connecting water lines to fixtures.
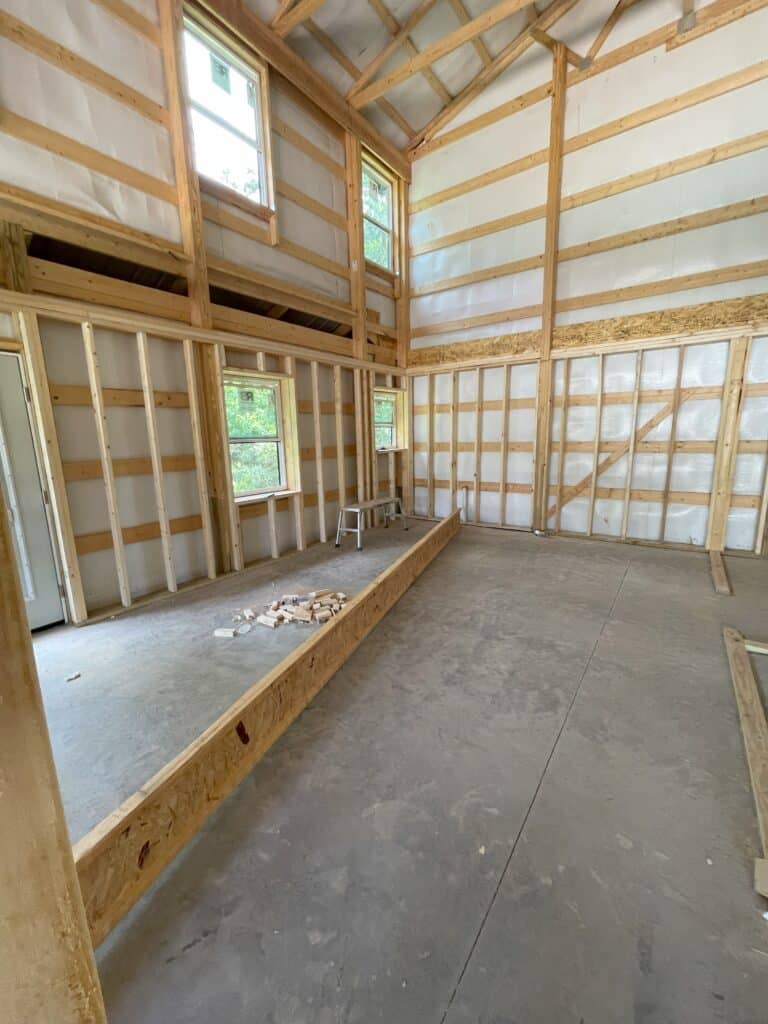
- Insulation: After setting up the plumbing and electrical systems, the next step is to focus on insulation. Insulation plays a pivotal role in maintaining the indoor temperature of your barndominium and enhancing its energy efficiency. Engage with your contractor to discuss the best insulation options, as they might offer insights or suggestions that might not have crossed your mind.
- Drywall & Interior/Exterior Finishes: After putting in place the insulation, it’s time to hang the drywall. During this phase, painting tasks commence and floors are laid out. Interior elements, like countertops and fixtures, are fitted, and on the outside, landscaping and other finishes get their final touches.
Once the drywall and finishing touches are in place, a final inspection is in order. This walkthrough is crucial to ensure every detail aligns with your vision. If there are any discrepancies or unfinished areas, it’s important to communicate these to your contractor for resolution. If everything aligns perfectly, then your barndominium stands completed.
Though the construction journey can be a maze of complexities, challenges, and lengthy timelines, the final product is undeniably rewarding. Witnessing your barndominium take shape is exhilarating, even more so if you’ve been hands-on in parts of its creation, such as painting or floor installation. Armed with this guide, you’re better prepared to navigate the adventure of building your dream barndominium.


